Introduction
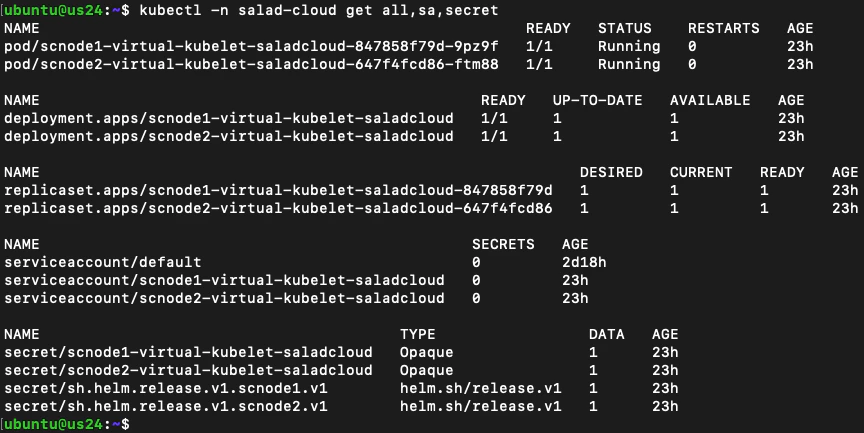
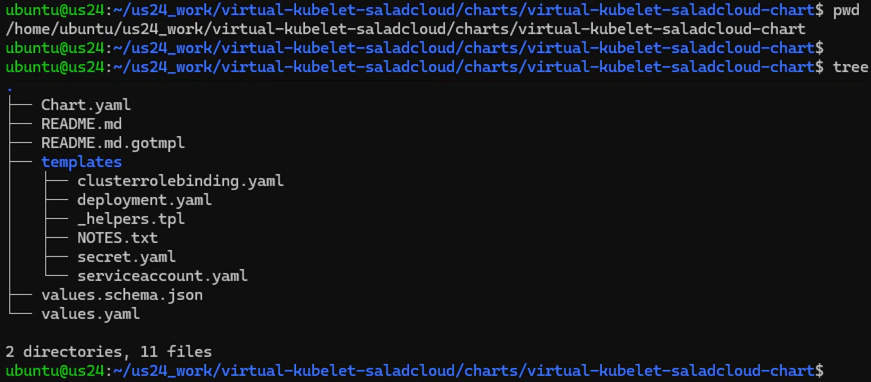
The easiest way to install a Salad VK instance into your Kubernetes cluster is by using the provided Helm chart. This will deploy the VK instance as a single-pod deployment, along with other necessary resources, such as a service account, secret and cluster role binding within the designated namespace. By using different instance names, the Helm chart allows multiple VK instances to be installed within a single namespace, ensuring that one can be safely removed without affecting the others. Alternatively, you can create a dedicated namespace for each VK instance to enhance resource isolation and management. Here is an example of the deployed resources for two VK instances, scnode1 and scnode2, within the salad-cloud namespace: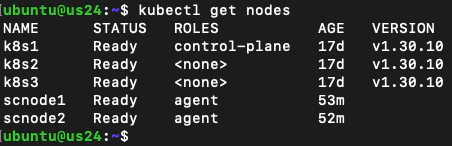

Perform a Dry Run and Install
Before deploying the chart, you can perform a dry run and check the generated Kubernetes YAML manifests without applying them to the cluster. First, define the following environment variables using your SaladCloud account details, including your organization name, project name and API key:salad_cloud_user_. Additionally, make sure to create a dedicated, empty project on
SaladCloud for each VK instance.
Then run the helm template command to pull the chart (0.2.3) hosted on the OCI registry at GitHub Container Registry
(GHCR) and render the chart with the above environment variables:
Troubleshooting
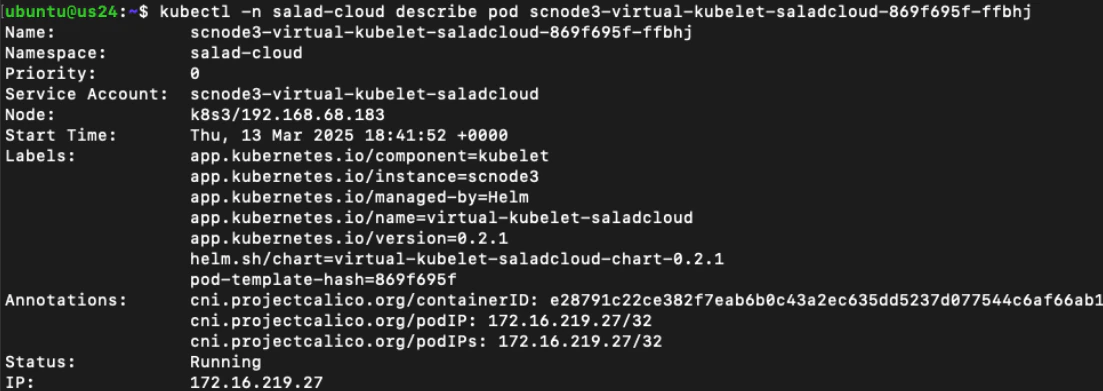
The scnode3 node should become ready shortly after deploying the chart. If any issues arise, you can retrieve detailed resource information, running state and check logs for troubleshooting:

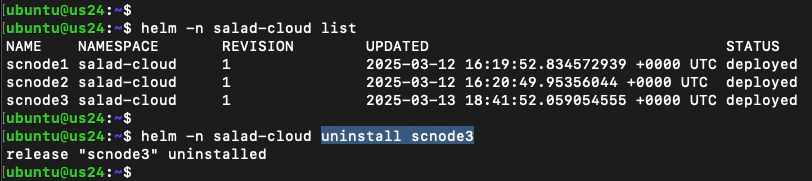
Uninstall
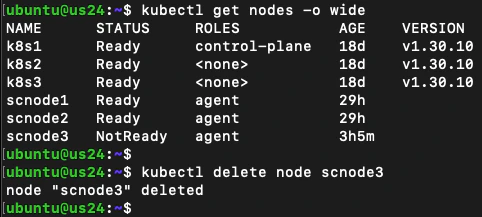
Before uninstalling a VK instance, make sure that no virtual pods are running on the virtual node. Then, you can list the installed releases in the namespace and uninstall the chart: