> ## Documentation Index
> Fetch the complete documentation index at: https://docs.salad.com/llms.txt
> Use this file to discover all available pages before exploring further.
# Quay Container Registry
*Last Updated: October 15, 2024*
In order to use Quay you need to have an organization and account at Quay. If you already have, you can skip step 1 and
follow the guide from step 2.
### Step 1: Create Quay Account
Begin by creating a Quay account for yourself or your organization at [Quay](https://quay.io).
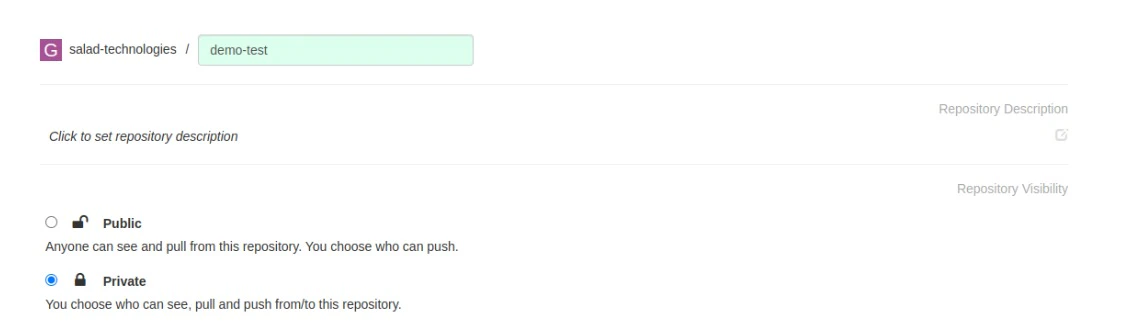
### Step 2: Create Public/Private Repository
Inside your Quay account, create a public/private repository where you'll store your Docker images securely.
 ### Step 3: Initialize the Repository
Initialize your private repository in one of these ways:
1. **Dockerfile**: If you have a Dockerfile, you can use it to initialize your repository.
2. **GitHub Repository Path**: Link your Quay repository to a GitHub repository to automate image pushes.
3. **Bitbucket**: Similar to GitHub, link your Quay repository to a Bitbucket repository for automated image pushes.
4. **Custom Git Repository**: Link to a custom Git repository if your code is hosted elsewhere.
### Step 4: Build the Image on Quay Portal
Use the Quay portal to build the Docker image associated with your private repository. Follow the on-screen
instructions.
### Step 3: Initialize the Repository
Initialize your private repository in one of these ways:
1. **Dockerfile**: If you have a Dockerfile, you can use it to initialize your repository.
2. **GitHub Repository Path**: Link your Quay repository to a GitHub repository to automate image pushes.
3. **Bitbucket**: Similar to GitHub, link your Quay repository to a Bitbucket repository for automated image pushes.
4. **Custom Git Repository**: Link to a custom Git repository if your code is hosted elsewhere.
### Step 4: Build the Image on Quay Portal
Use the Quay portal to build the Docker image associated with your private repository. Follow the on-screen
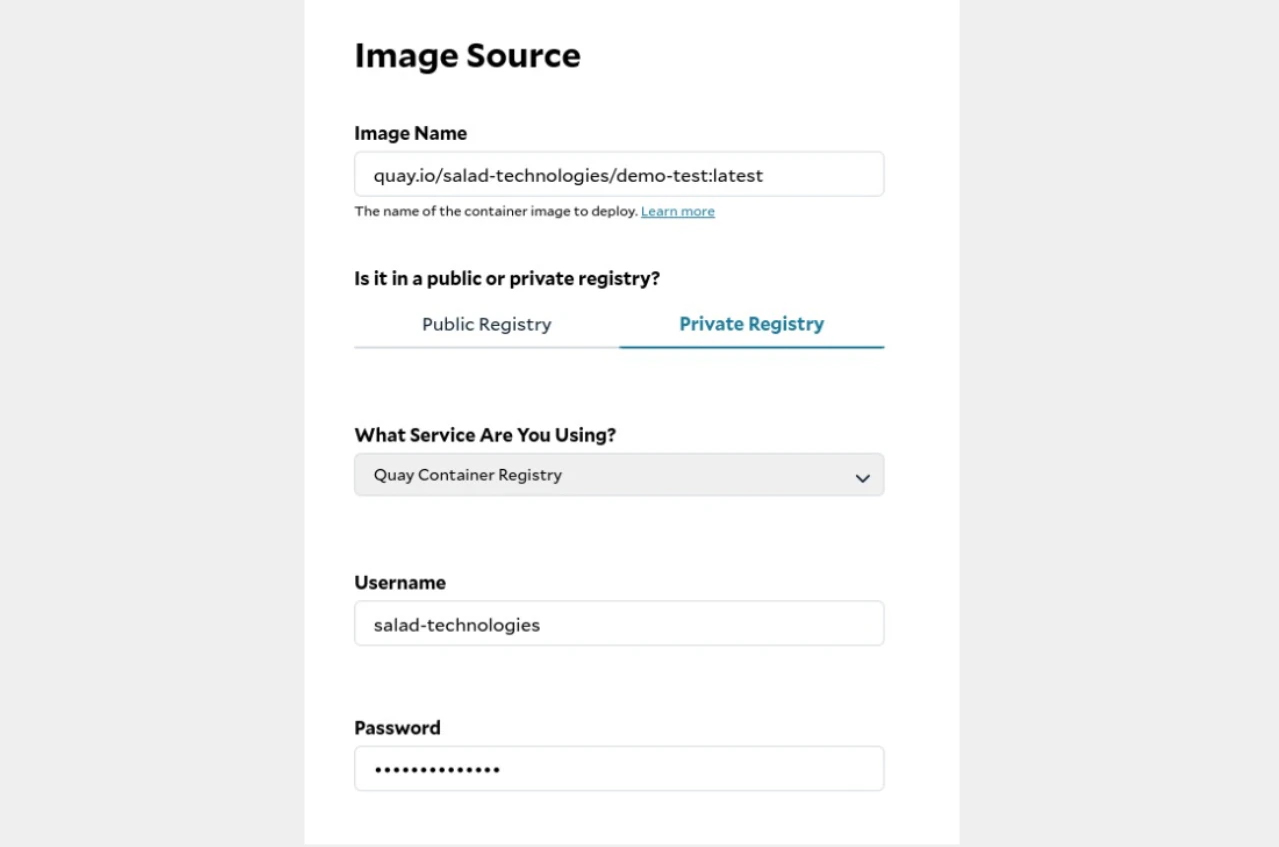
instructions.  ### Step 5: Configure SaladCloud Container Environment (SCE):
Access the SaladCloud portal and set up your SCE by selecting the private registry tab when setting the image source. In
the service dropdown option, choose "Quay Container Registry," and provide the following information:
1. Quay username and password.
2. Image name from your private Quay repository
### Step 5: Configure SaladCloud Container Environment (SCE):
Access the SaladCloud portal and set up your SCE by selecting the private registry tab when setting the image source. In
the service dropdown option, choose "Quay Container Registry," and provide the following information:
1. Quay username and password.
2. Image name from your private Quay repository
 ### Step 6: Start the Container
With all configurations in place, click the "Start" button in the SaladCloud portal to launch your container using the
private Quay registry image.
### Step 6: Start the Container
With all configurations in place, click the "Start" button in the SaladCloud portal to launch your container using the
private Quay registry image.
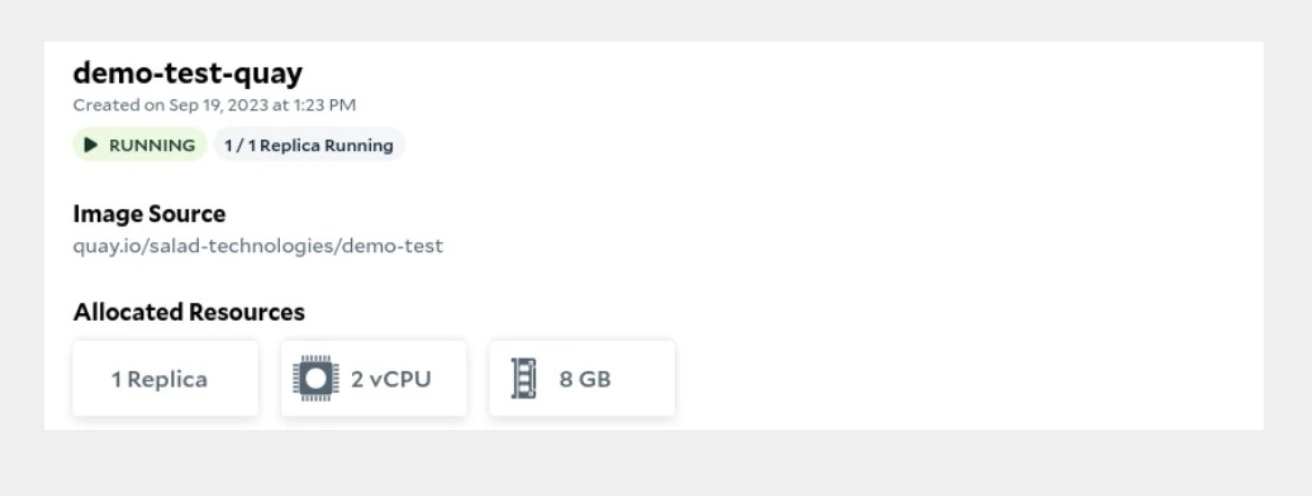 > 👍 Congratulations!
>
> Your container is now up and running, utilizing the image stored securely in your private Quay repository.
> 👍 Congratulations!
>
> Your container is now up and running, utilizing the image stored securely in your private Quay repository.