> ## Documentation Index
> Fetch the complete documentation index at: https://docs.salad.com/llms.txt
> Use this file to discover all available pages before exploring further.
# Run Hugging Face Models with Ollama (45,000 models)
> Use Ollama with any GGUF Model on Hugging Face Hub on SaladCloud.
*Last Updated: October 24, 2024*
## Introduction to Ollama
Ollama, built on the llama.cpp framework, now seamlessly integrates with a vast collection of GGUF format language
models available on Hugging Face. With over 45,000 public GGUF checkpoints, users can effortlessly run any of these
models on SaladCloud with minimal setup. This integration offers flexibility in selecting models, customizing
quantization schemes, and other options, making it one of the simplest and most efficient ways to deploy and use
language models.
## Run any Hugging Face Model with Ollama on SaladCloud
You can deploy any Hugging Face LLM model with Ollama on SaladCloud by passing the model as an environment variable
during deployment. Pick the model you want here:
[HF models](https://huggingface.co/models?pipeline_tag=text-generation\&library=gguf\&sort=trending) The environment
variable MODEL should follow the format below, allowing you to specify the model from Hugging Face, including optional
quantization settings:
```bash theme={null}
hf.co/{username}/{repository}:{quantization}
```
### Here are example of models you can try:
```bash theme={null}
MODEL hf.co/bartowski/Llama-3.2-1B-Instruct-GGUF
MODEL hf.co/mlabonne/Meta-Llama-3.1-8B-Instruct-abliterated-GGUF
MODEL hf.co/bartowski/Llama-3.1-Nemotron-70B-Instruct-HF-GGUF
```
## Custom Quantization
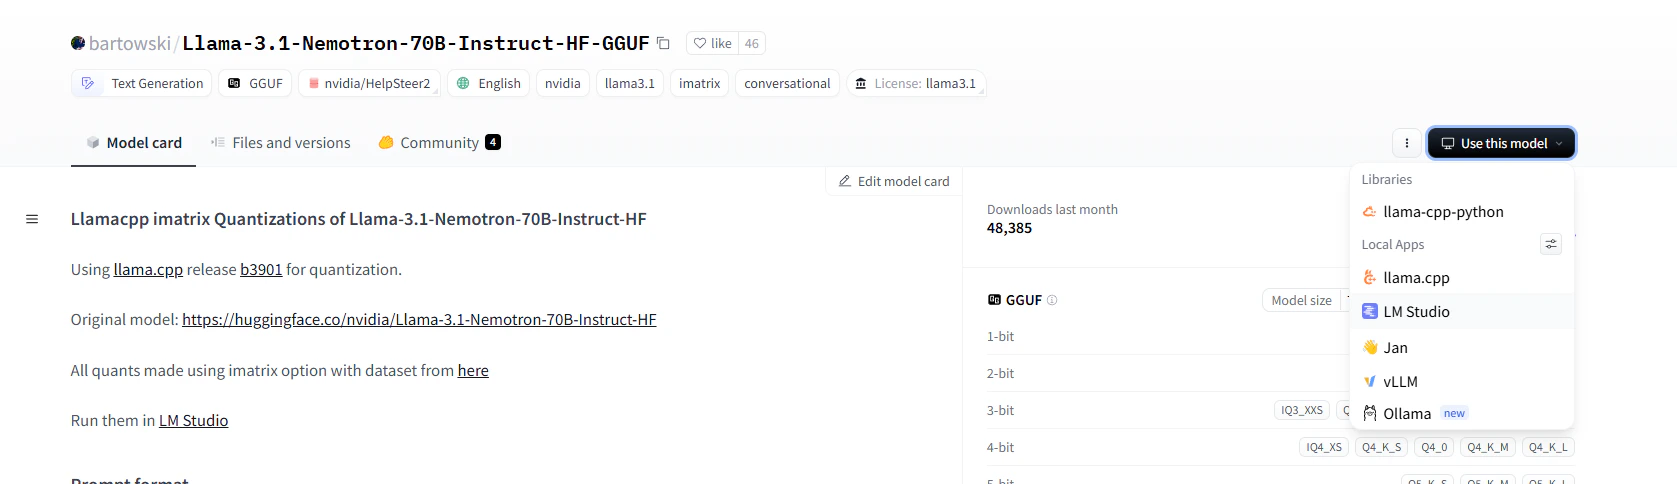
By default, Ollama uses the Q4\_K\_M quantization scheme if it's available in the model repository. You can manually
select a quantization scheme by specifying it in the MODEL environment variable. To find quantization options open
model's Hugging Face page and choose ollama from "Use this model" dropdown. For example:
 and choose the quantization you want:
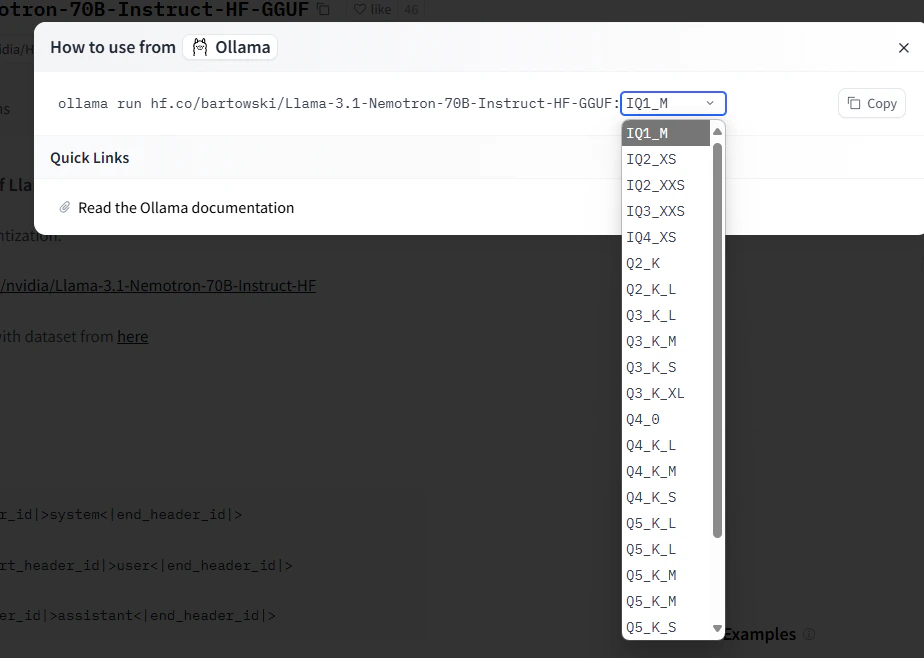 To specify a custom quantization, follow this format:
```bash theme={null}
MODEL hf.co/{username}/{repository}:{quantization}
```
### Example with Custom Quantization:
```bash theme={null}
MODEL hf.co/bartowski/Llama-3.1-Nemotron-70B-Instruct-HF-GGUF:IQ2_XS
```
## Deploying Hugging Face Models with Ollama on Salad Cloud
To run Hugging Face models on Salad Cloud using Ollama, follow one of these deployment options:
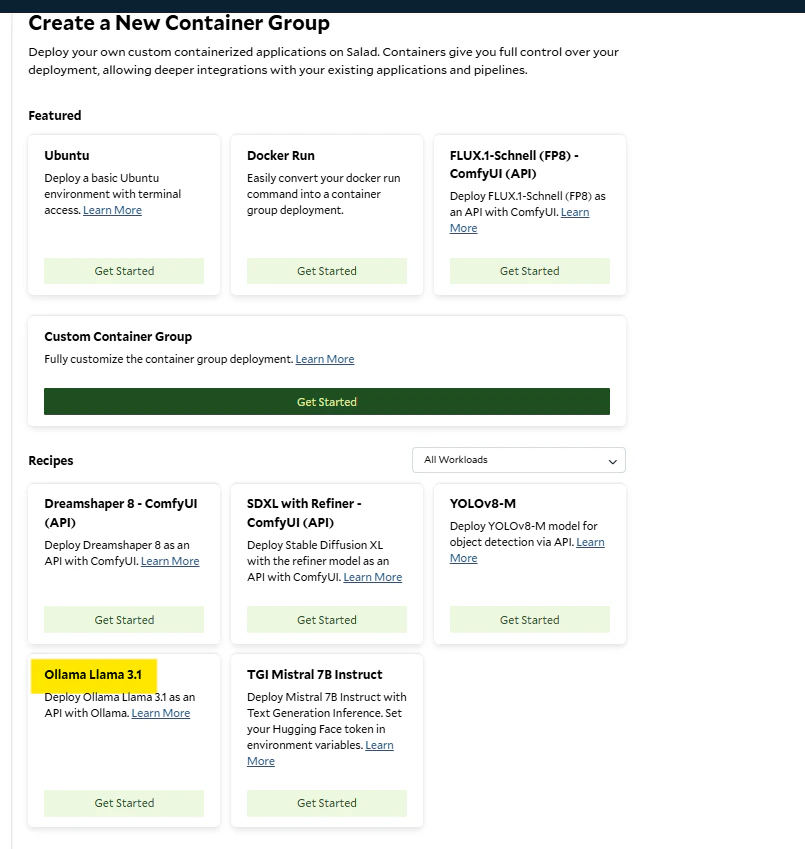
### Option 1: Fastest Way (Pre-built Recipe)
We have a pre-built recipe for deploying Llama3.1 with Ollama on SaladCloud. This recipe can also be used to run any
additional model from Hugging Face. As a result you will have both Llama 3.1 and model of your choice. Full
configuration takes less than a minute.
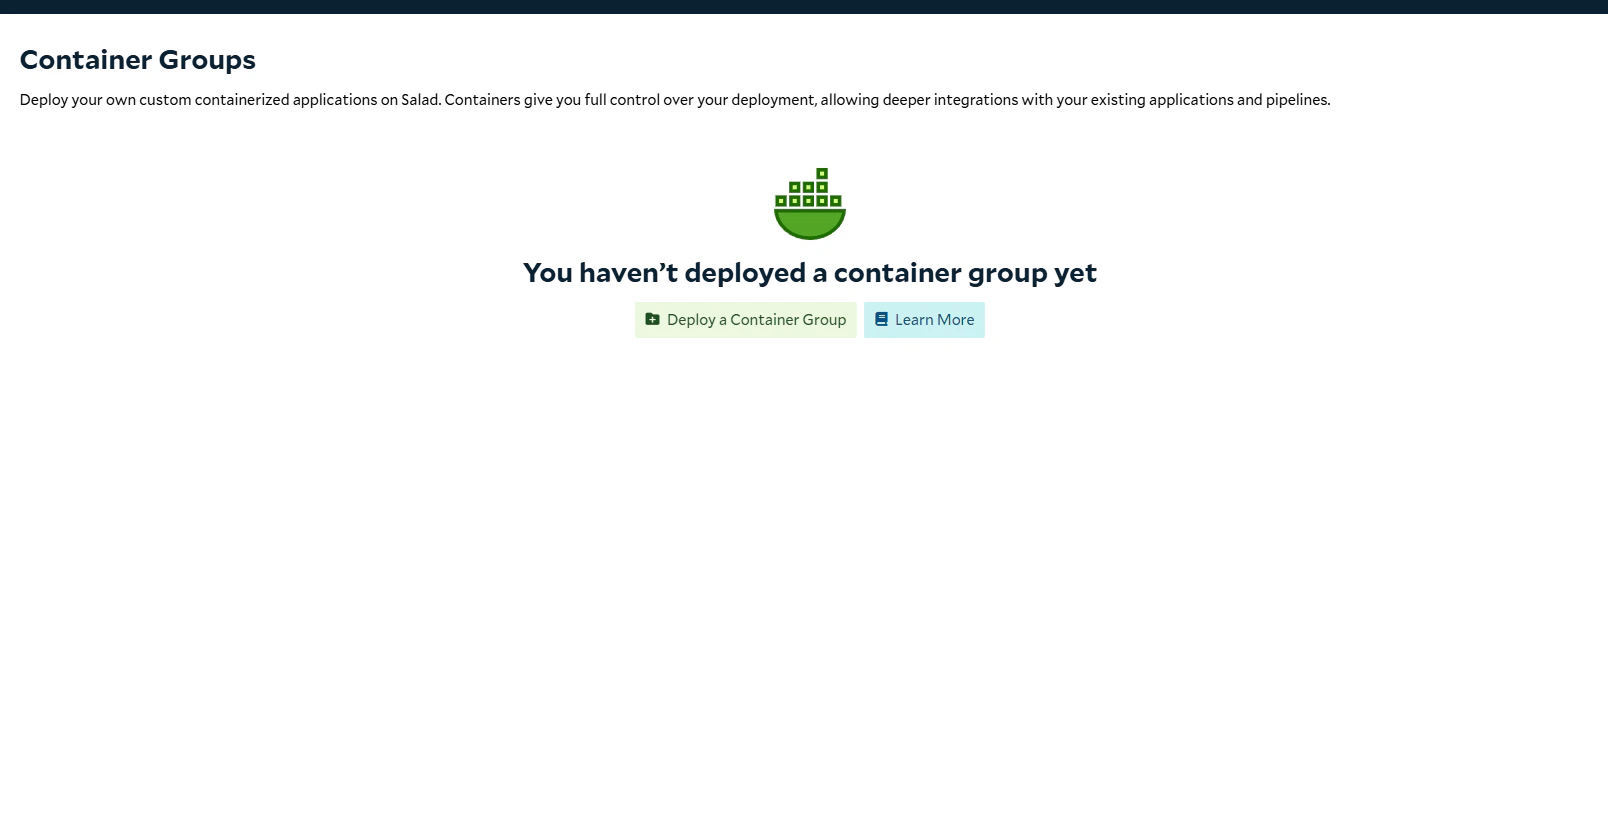
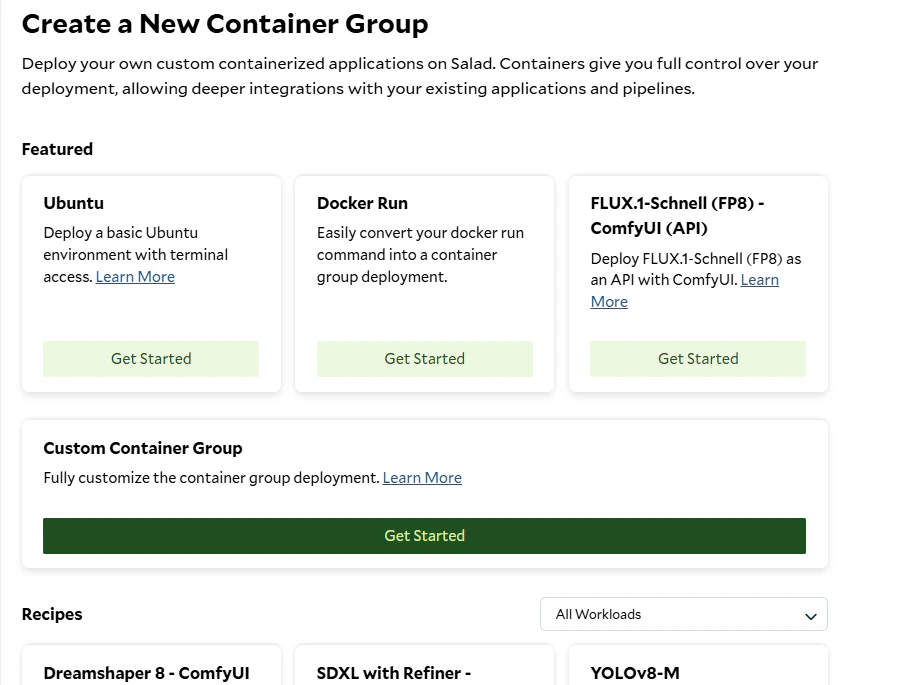
1. Click **Deploy a Container Group** and choose the **Ollama Llama 3.1** recipe.
To specify a custom quantization, follow this format:
```bash theme={null}
MODEL hf.co/{username}/{repository}:{quantization}
```
### Example with Custom Quantization:
```bash theme={null}
MODEL hf.co/bartowski/Llama-3.1-Nemotron-70B-Instruct-HF-GGUF:IQ2_XS
```
## Deploying Hugging Face Models with Ollama on Salad Cloud
To run Hugging Face models on Salad Cloud using Ollama, follow one of these deployment options:
### Option 1: Fastest Way (Pre-built Recipe)
We have a pre-built recipe for deploying Llama3.1 with Ollama on SaladCloud. This recipe can also be used to run any
additional model from Hugging Face. As a result you will have both Llama 3.1 and model of your choice. Full
configuration takes less than a minute.
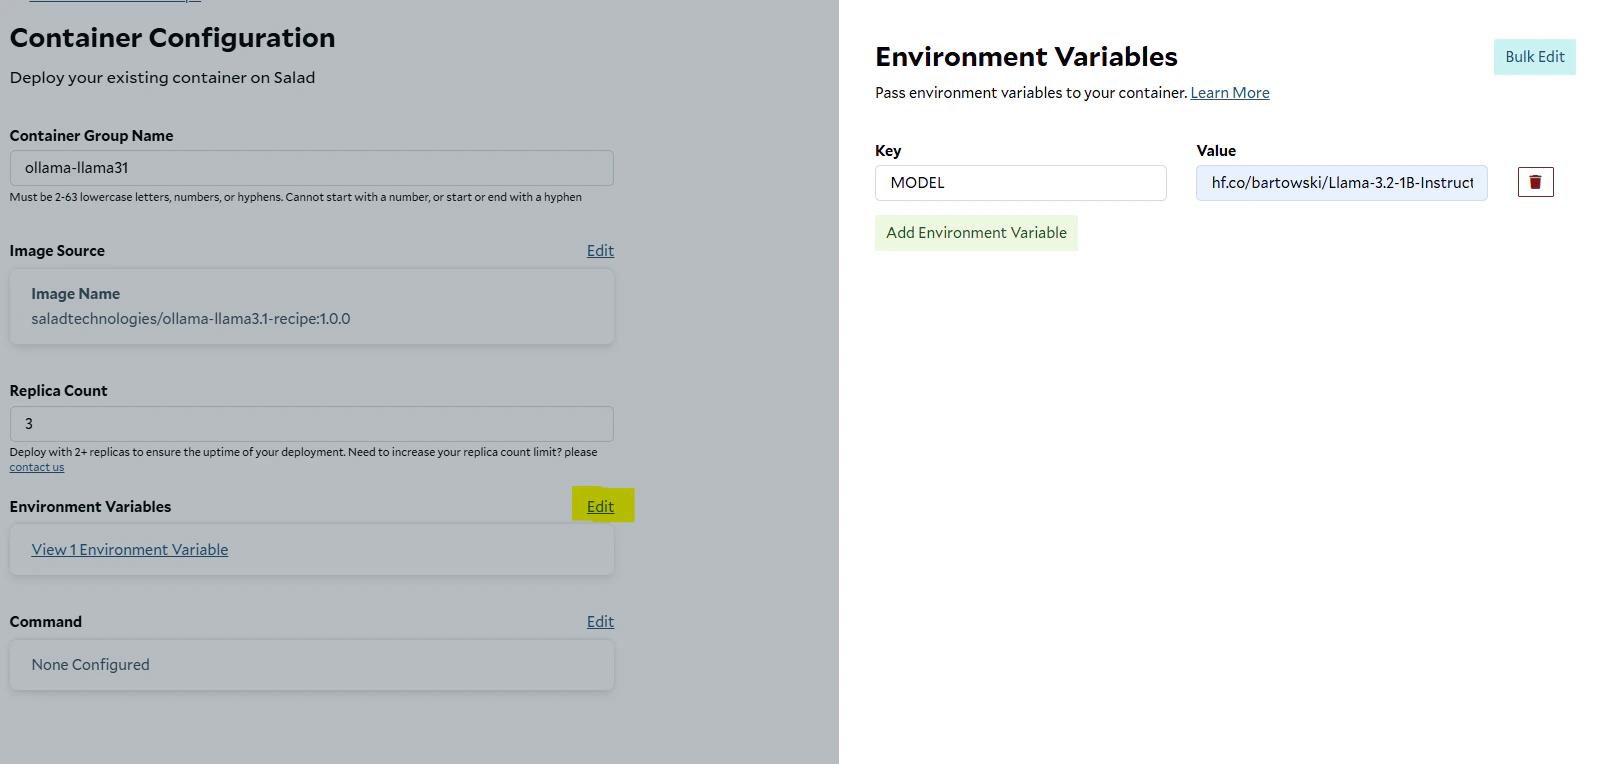
1. Click **Deploy a Container Group** and choose the **Ollama Llama 3.1** recipe.
 2. Add an environment variable: `MODEL` set to the desired model (as specified above).
 3. Continue through the steps (the default setup is 8 vCPUs, 8 GB RAM, and 12 GB GPU, RTX 3060). For better performance,
select a higher-end GPU and other parameters.
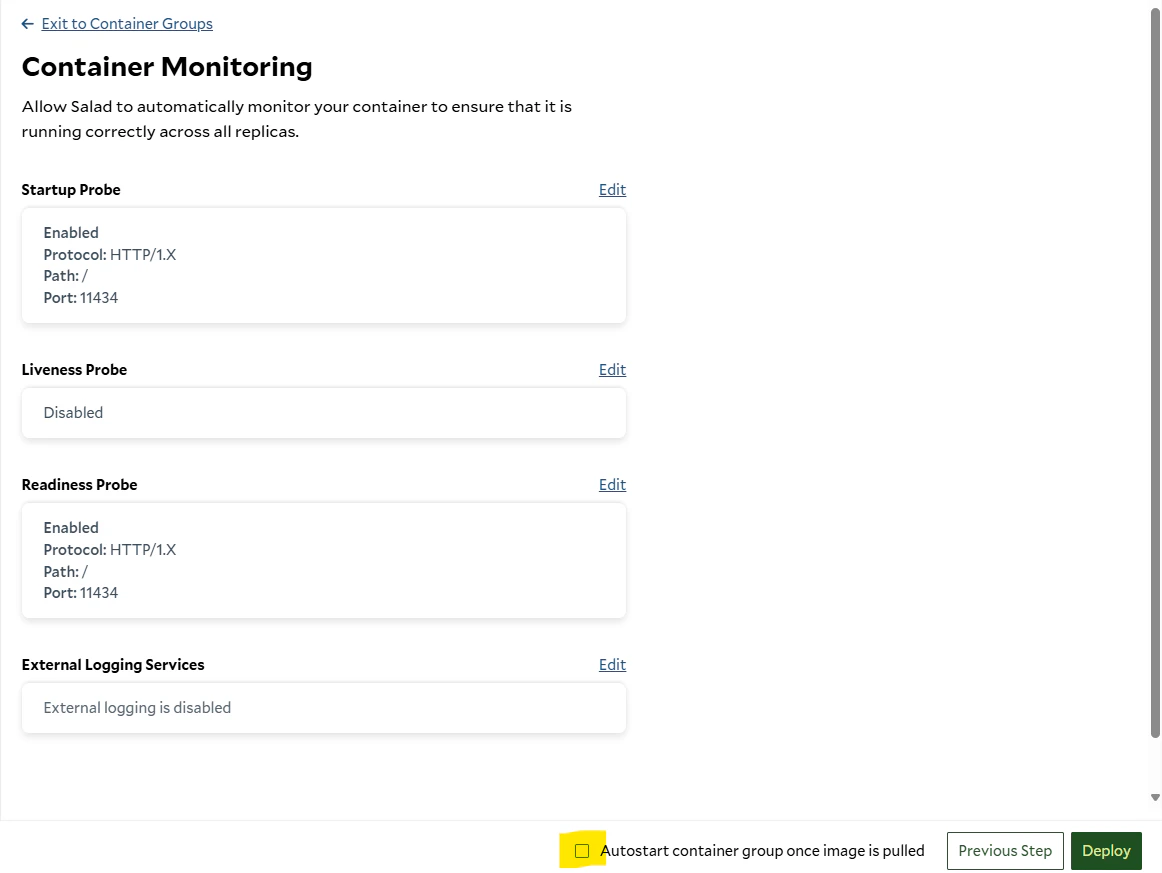
4. On the final page, ensure **Autostart** is checked, then click **Deploy**.
3. Continue through the steps (the default setup is 8 vCPUs, 8 GB RAM, and 12 GB GPU, RTX 3060). For better performance,
select a higher-end GPU and other parameters.
4. On the final page, ensure **Autostart** is checked, then click **Deploy**.
 ### Option 2: Custom Container Group
1. Click **Deploy a Container Group** and choose **Custom Container Group**.
### Option 2: Custom Container Group
1. Click **Deploy a Container Group** and choose **Custom Container Group**.
 2. Set a deployment name. Edit the image source and enter `saladtechnologies/ollama-hf:1.0.0` as the image name, then
click **Configure**.
2. Set a deployment name. Edit the image source and enter `saladtechnologies/ollama-hf:1.0.0` as the image name, then
click **Configure**.
 3. Edit the **Environment Variables** and add the following:
* `MODEL` set to the desired Hugging Face model (as specified above). Move to the next page
4. Select the desired CPU, RAM, GPU, storage, and priority for the deployment.
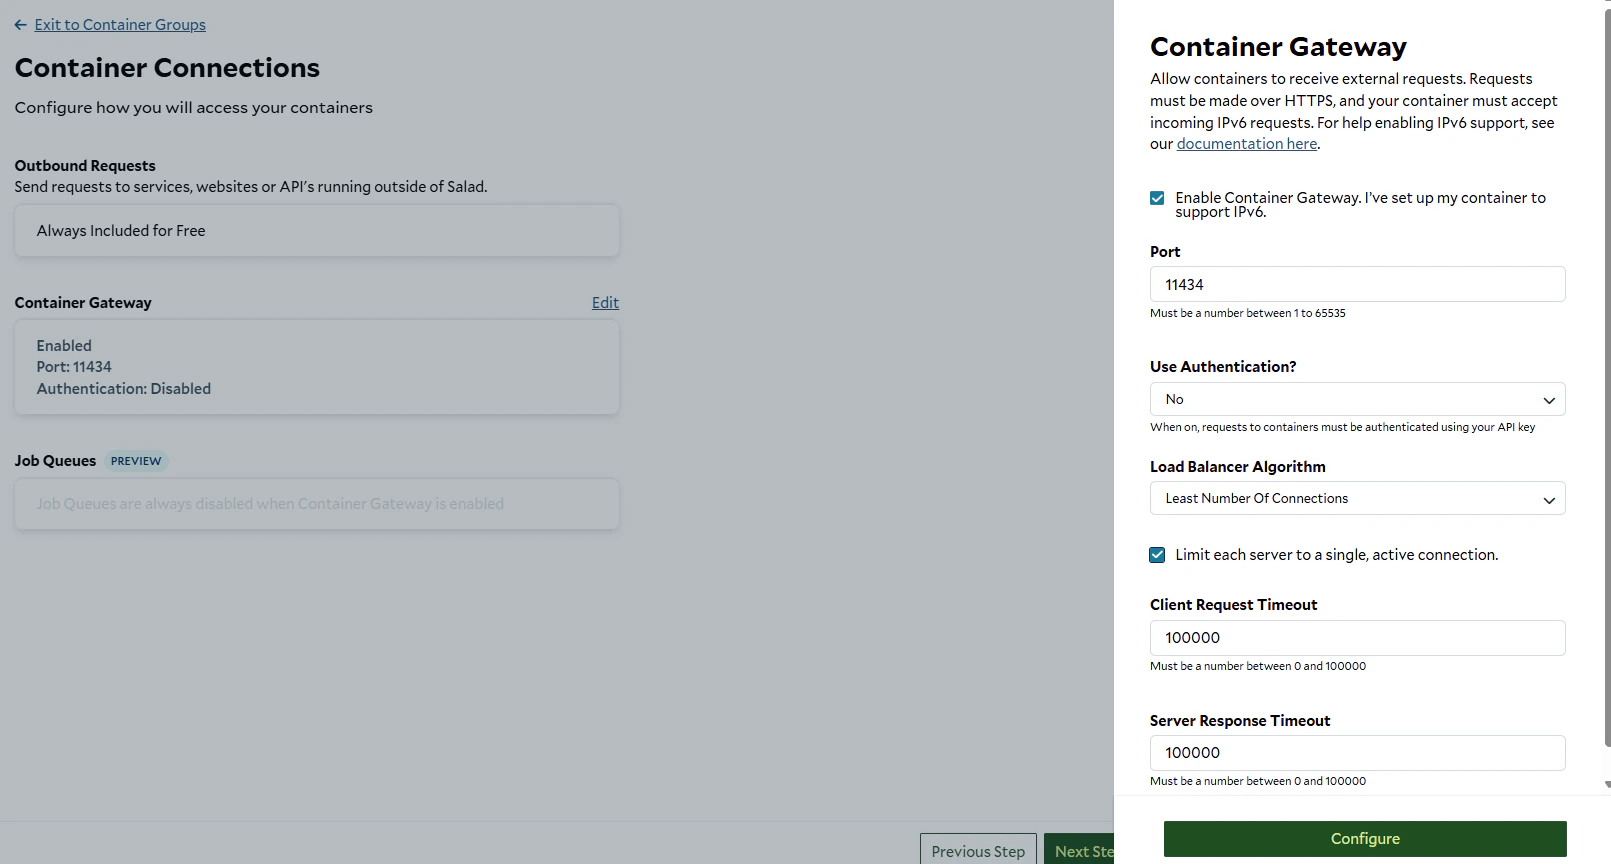
5. Add a **Container Gateway**:
* Click **Enable**, set the port to `11434`, and select **Least number of connections** as the load balancer
algorithm.
* Optionally, limit each server to a single active connection.
3. Edit the **Environment Variables** and add the following:
* `MODEL` set to the desired Hugging Face model (as specified above). Move to the next page
4. Select the desired CPU, RAM, GPU, storage, and priority for the deployment.
5. Add a **Container Gateway**:
* Click **Enable**, set the port to `11434`, and select **Least number of connections** as the load balancer
algorithm.
* Optionally, limit each server to a single active connection.
 6. Add a **Startup Probe**:
* Click **Enable**, set the path to `/` and port to `11434`. Set the probe type to `HTTP` and the initial delay to
desired number.
7. Ensure **Autostart** is checked, then click **Deploy**.
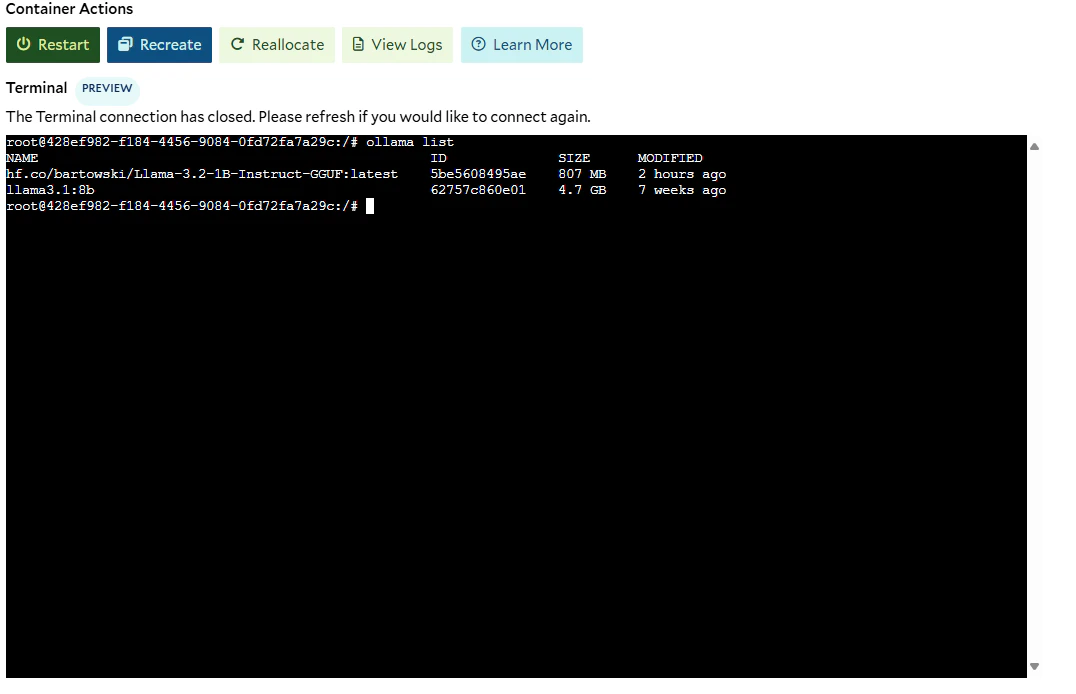
## Use your Deployment
Once the deployment is complete, click on the deployment name to access the deployment details. To verify the model was
uploaded you can open the terminal and run the following command:
```bash theme={null}
ollama list
```
6. Add a **Startup Probe**:
* Click **Enable**, set the path to `/` and port to `11434`. Set the probe type to `HTTP` and the initial delay to
desired number.
7. Ensure **Autostart** is checked, then click **Deploy**.
## Use your Deployment
Once the deployment is complete, click on the deployment name to access the deployment details. To verify the model was
uploaded you can open the terminal and run the following command:
```bash theme={null}
ollama list
```
 ## How To Send Requests
Once your Ollama server is running with, you can send requests to interact with the model. Follow the instructions
provided in the
[OpenAI Documentation](https://github.com/SaladTechnologies/salad-recipes/blob/master/src/ollama-llama3.1/openai.md)
file to learn how to properly structure and send requests to the API.
## How To Send Requests
Once your Ollama server is running with, you can send requests to interact with the model. Follow the instructions
provided in the
[OpenAI Documentation](https://github.com/SaladTechnologies/salad-recipes/blob/master/src/ollama-llama3.1/openai.md)
file to learn how to properly structure and send requests to the API.